Drywall Repair
How to Make a Drywall Patch Blend Before Painting
The patch is only the beginning; blending the edges and sealing the repair are what keep it from announcing itself.
The patch is only the beginning; blending the edges and sealing the repair are what keep it from announcing itself.
Quick answer: The patch is only the beginning; blending the edges and sealing the repair are what keep it from announcing itself.
Start by widening the repair visually rather than building a hard mound. Feathering creates a gradual transition that is easier for paint to bridge. The patch also needs to be smooth enough for the chosen finish and clean enough that dust does not interfere with primer.
Primer matters because joint compound and bare paper absorb differently from painted drywall. Without a sealed surface, the patch can look dull, dark, or uneven even when the color matches.
If the wall has strong side light, a test coat can reveal whether more sanding or skim work is needed. Fixing the transition before the final coat is faster than trying to hide it with extra paint.
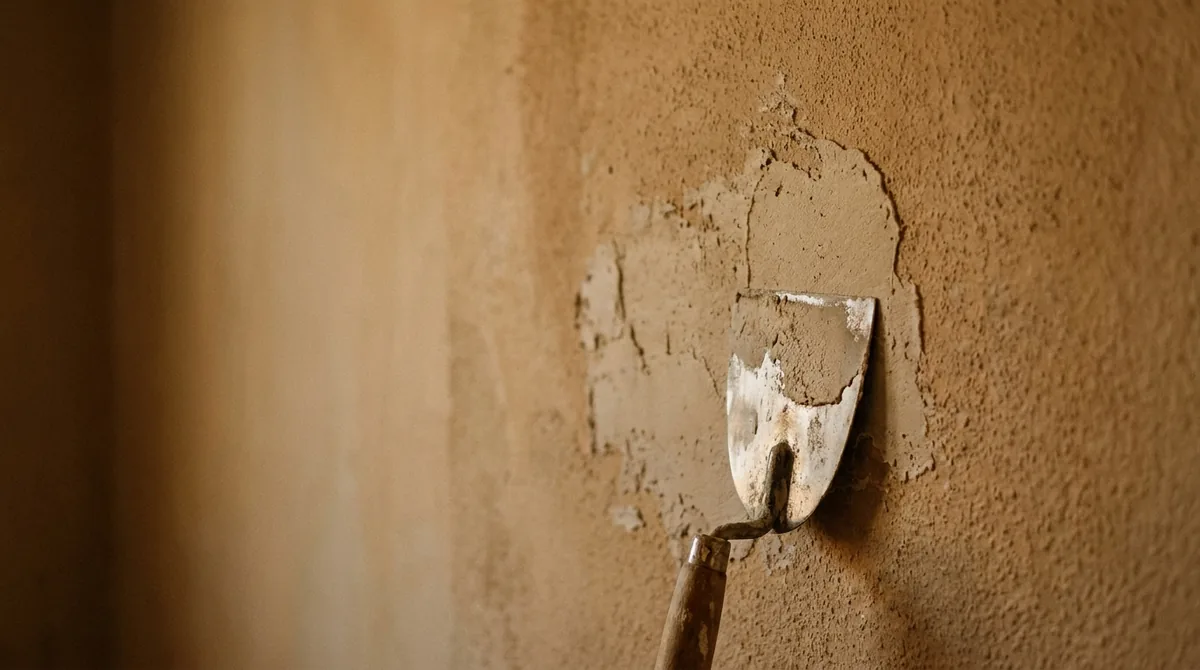
Drywall repair blended into an existing wall texture
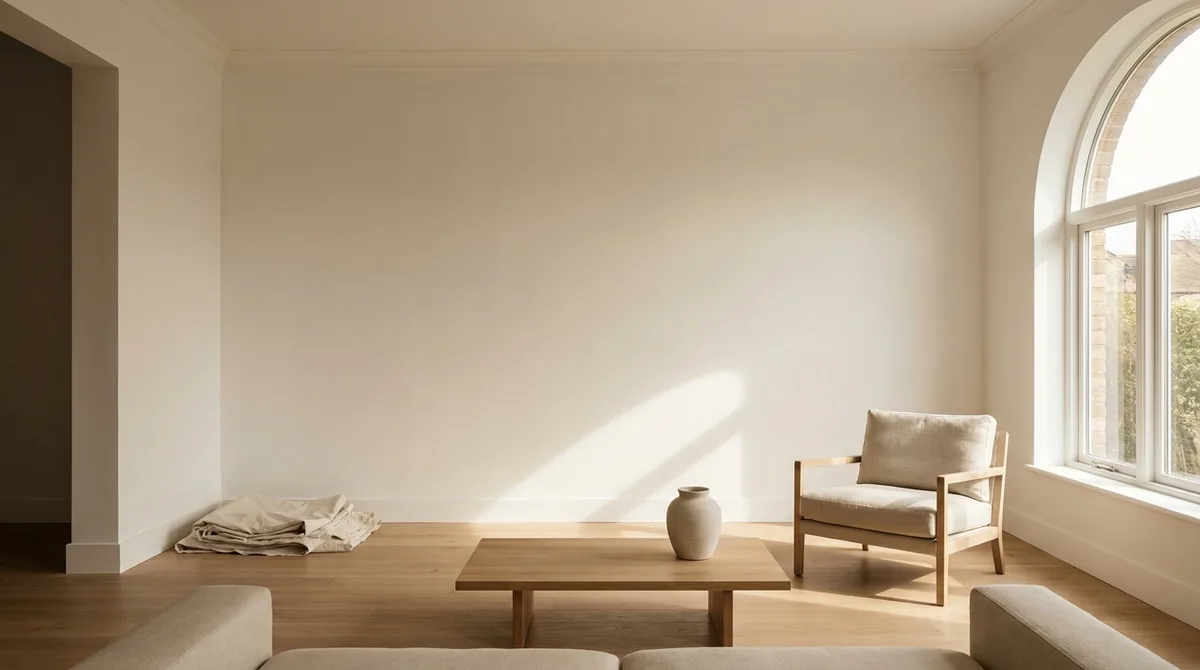
Painted wall after patch and texture repair
Start with the surface, the way the space is used, and the result you want to maintain. A useful painting decision names the constraint instead of hiding it behind a broad promise.
Most surprises come from hidden prep: old coatings, failed caulk, unstable drywall, adhesive residue, moisture, difficult access, or a schedule that leaves no cure time. Ask about those items before choosing by price alone.
Unsealed compound absorbs paint differently from the surrounding wall. Primer helps create a consistent surface.
Often the best blend comes from painting corner to corner, but the condition and color match determine whether spot touch-up is realistic.
A close blend is the goal, but existing age and lighting can make a perfect match difficult.
Tell us what needs attention. We will walk through the prep, timing, and finish with you before anything is scheduled.
No cost, no obligation. You will receive a written quote for the work discussed.