Drywall Repair
When to Paint After Drywall Repair
The wall is ready when the repair is dry, stable, smooth, sealed, and matched—not simply when the compound feels hard.
The wall is ready when the repair is dry, stable, smooth, sealed, and matched—not simply when the compound feels hard.
Quick answer: The wall is ready when the repair is dry, stable, smooth, sealed, and matched—not simply when the compound feels hard.
Check the repair in the room's actual light and from the angles people normally see. Look for ridges, pinholes, texture differences, and a hard perimeter. Then remove dust and prime the repair so it does not absorb the finish differently from the surrounding wall.
A spot repair may blend with a touch-up when the color, sheen, and age of the surrounding paint cooperate. Otherwise, painting from corner to corner often produces a calmer result.
If the repair is near a leak, window, or recurring crack, confirm the cause is addressed before painting. The finish should be the last step of the repair, not the way the repair is hidden.
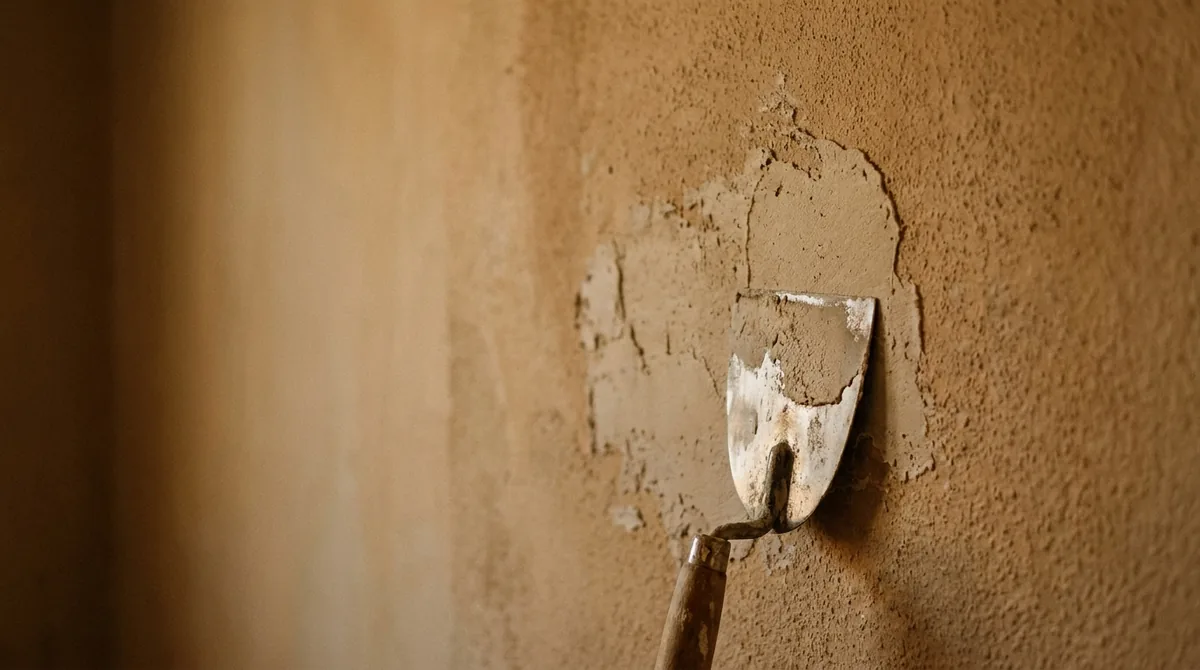
Drywall repair surface ready for primer

Painted wall after drywall repair and blending
Start with the surface, the way the space is used, and the result you want to maintain. A useful painting decision names the constraint instead of hiding it behind a broad promise.
Most surprises come from hidden prep: old coatings, failed caulk, unstable drywall, adhesive residue, moisture, difficult access, or a schedule that leaves no cure time. Ask about those items before choosing by price alone.
It depends on thickness, humidity, airflow, and product. Follow the product guidance and verify the repair is stable.
Unsealed compound absorbs differently from the surrounding wall, and sheen variation can exaggerate it.
Sometimes, but a corner-to-corner repaint is often the more reliable visual blend.
Tell us what needs attention. We will walk through the prep, timing, and finish with you before anything is scheduled.
No cost, no obligation. You will receive a written quote for the work discussed.